How to manage risk when you’re leading
Article by Will Nicholls- Instructor at PYB
Climbing is all about risk management. We can risk a lot and climb without a rope but the
consequences are massive. Equally, we can second or top rope routes and risk very little, as
there should be no consequence to falling off. Lead climbing sits somewhere in the middle;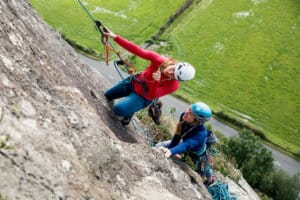
we can choose safer or more dangerous routes, and we can climb them in a safer or more
dangerous manner. It’s all up to the climbing team, I say team, as if you’re intending to climb
a potentially dangerous route, it’s nice to inform your belayer and make sure they buy into it!
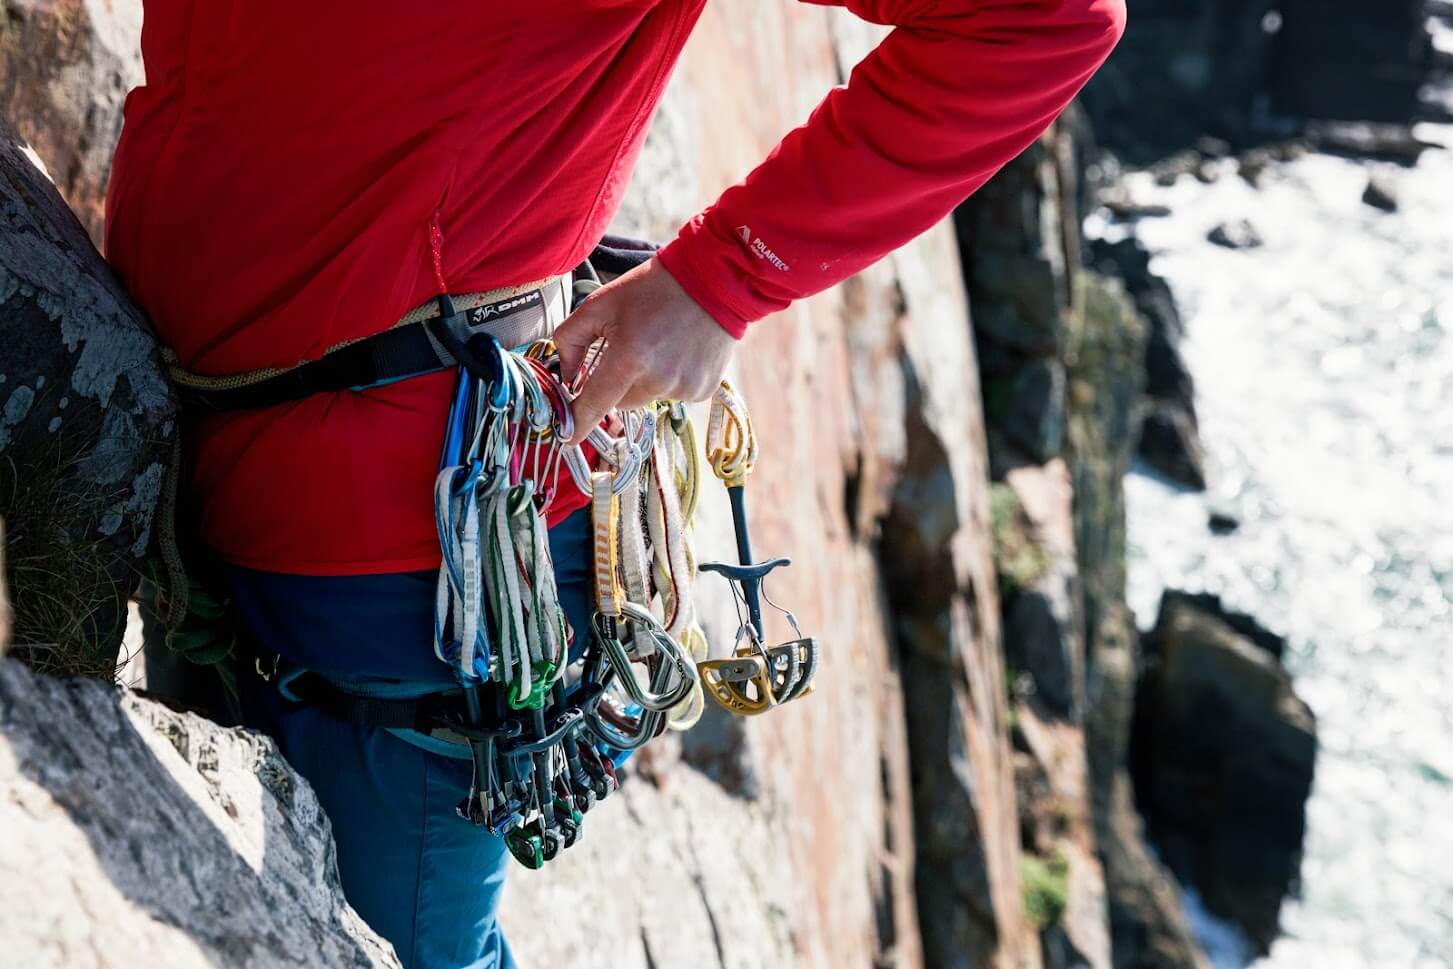
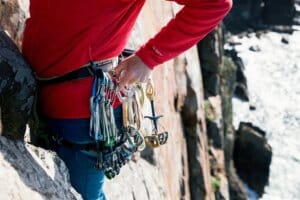
So firstly, route choice. Traditional routes can be just as safe as sport climbs, safer even. By
safe, I mean being able to place reliable protection in good rock as often as you like. Should you fall off, you won’t hit anything on a safe route, it’s a clean fall zone. Climbing a perfect crack would be a great example: cams can be plugged in whenever you fancy and a fall
should result in nothing more than a bruised ego. If a guidebook describes a climb as safe or
well protected it’s a good indication of it being so. That said, the author’s idea or safe or well
protected may differ from yours. It’s worth looking from the ground before committing to it –
where can you see cracks and gear? Are there any obstacles to hit should you fall, or is it a
steep and safe fall zone?
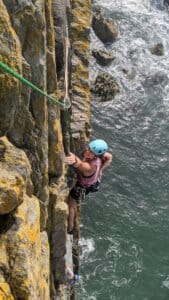
Trad routes can also be highly dangerous! The quality of rock, quality of gear placement and
number of gear placements may all be lacking. There may also be things to hit should you
fall off, such as ledges, spikes or boulders. You may even hit the jackpot and find a route
that’s true of all of these things! A guidebook should describe a route as run out, poorly
protected or dangerous. I remember belaying a friend on a very dangerous and hard route
called The Bells The Bells at Gogarth. He cruised it. I had no idea how he managed it. The
climbing is difficult, tenuous and hard to read. It’s 40 metres long, with the final two thirds
(and crux) being protected only by a knackered old peg and some seriously small and poor
microwires. We both agreed that a fall would have likely ended in hitting the ground! He took
this route on knowingly though, and used years and years’ worth of experience of managing
risk and knowing his physical and mental abilities to succeed. It was very impressive!
Most trad routes fall somewhere in the middle. That’s to say there are safe sections, where it
would be fine to fall off and there are more dangerous sections, where it wouldn’t be okay to
fall off. Being aware of where you are on this sliding scale and managing things accordingly
is what keeps you safe.
Good habits to get into;
● Don’t rush! Trad climbing is a slow game. Never feel compelled to rush things, your
neck is on the line at the end of the day.
● Ensure you’re happy with the quality of the rock.
● Take your time to place gear – put the best piece in, not the one that’s the easiest.
● Seat the placement. With wires, grab the bottom of the set and pull in the direction of
a fall in a series of ever more powerful tugs; light, medium, and then with all of your
might. Do the same with cams. Watch the wires and cams as you do this – how do
they respond, have they moved anywhere?
● Place gear every body length if it’s very good.
● Place gear more frequently than a bodylength if it’s anything less than very good.
● If you’ve climbed a longer section without placing gear as none was available, create
a cluster as soon as you can. Put a couple of pieces in.
● Create a cluster of gear before you climb through the crux.
● Create a cluster of gear if none of the pieces are very good.
Are you getting the idea?! Placing good gear frequently is key. As soon as it’s poor or
infrequent, slow down – fiddle some in. If you can’t, then look at the ground above.
● Can you definitely see a gear placement above? Check your remaining rack, do you
have something that should fit?
● How difficult is the climbing to the next placement – easy, medium or difficult?
● What would happen if you fall off? This poses a couple of questions;
1. Which pieces of gear would arrest your fall?
2. How good are they?
3. What would happen if they ripped?
4. How likely are they to rip?
5. What is the fall zone like – is it steep / slabby / full of ledges?
6. Could you hit the ground?
You have to be absolutely honest in your answers to the questions above. Pretending that
gear is good when it isn’t may help to get you up some routes, but it’s a habit that will come
and bite back in the future. Once you’ve weighed everything up you can make an informed
decision, rather than blindly questing off, oblivious to the level of risk you’ve just put yourself
in. You can then decide whether you’re going to continue, try and place more gear or
reverse.
These are essential skills for trad climbers. They translate perfectly to winter and alpine
climbing as well – it’s a matter of balance.
Keep it safe and keep it fun!
-Will-